Art Lesson w/ Ms. Jennifer: Augusta Savage
Let’s express ourselves by sculpting clay in the style of the late Augusta Savage.
About the Artist
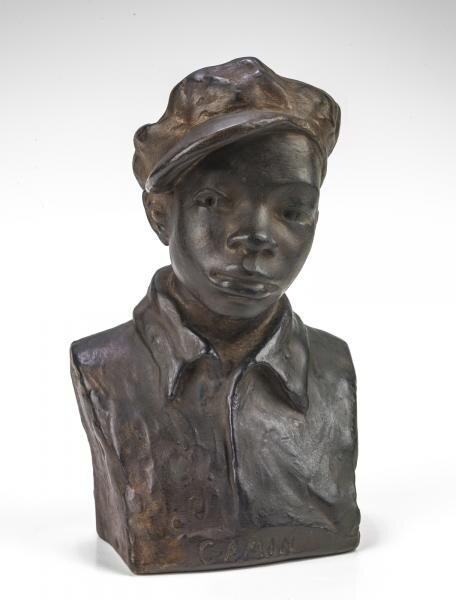
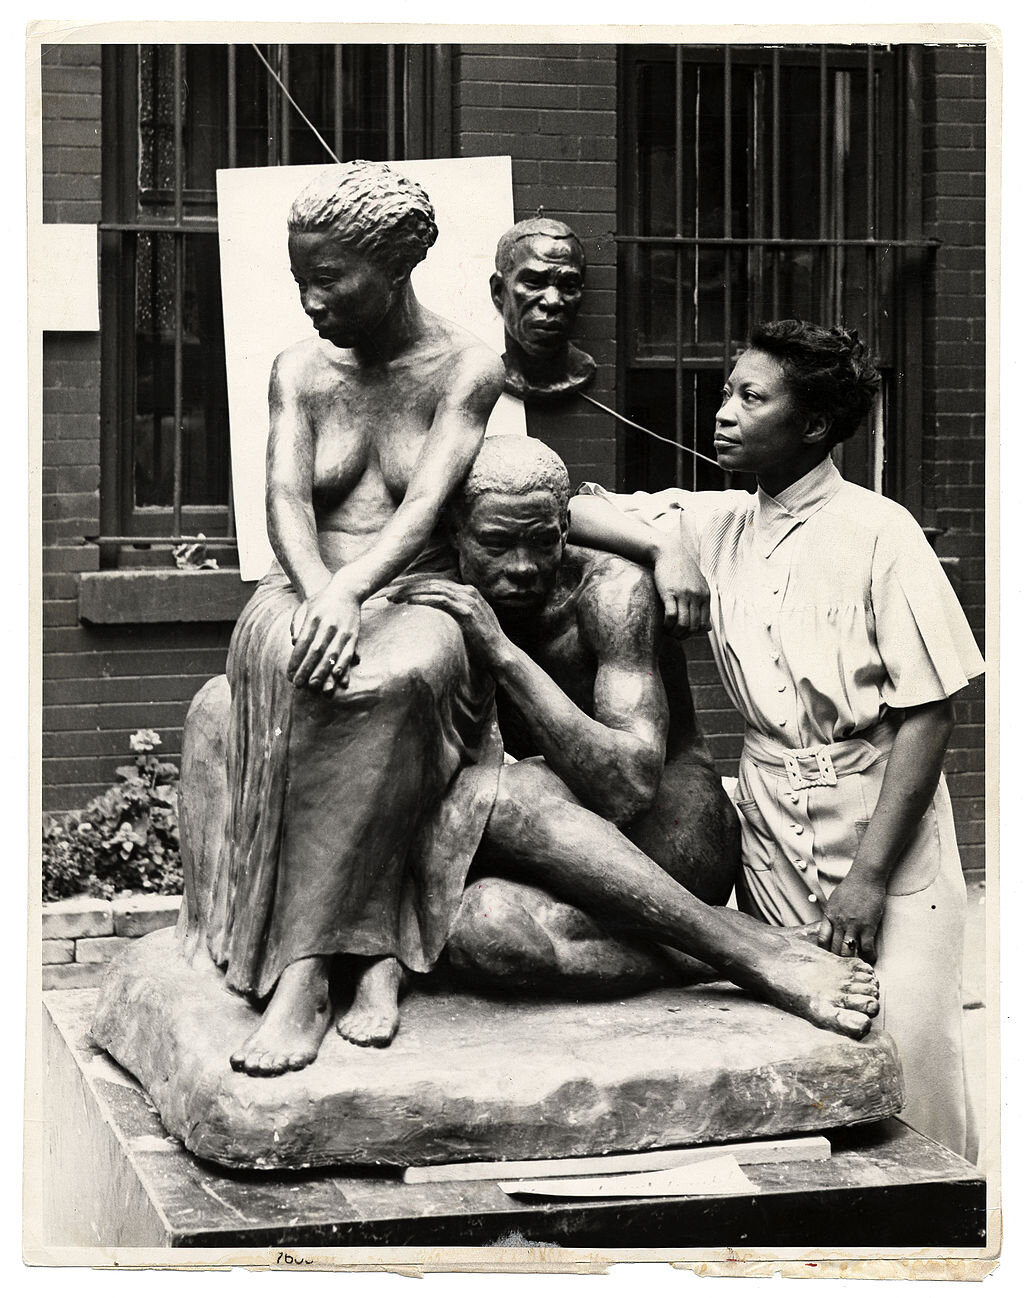
American sculptor Augusta Savage (1892–1962) was born and raised in Green Cove Springs, Florida. From a young age, she loved creating sculptures of small animals out of the natural clay from the earth where she lived. After winning an award at the local fair, she decided to take sculpting more seriously. She moved to New York and completed a four year course of study at Cooper Union in just three years. She ran into many challenges due to her gender and the color of her skin, but did not let those stop her. After studying in France, she returned to the US hoping to make her living doing portrait busts, but the Great Depression meant there were not many commissions for such work. She took this time to found the Savage School for young artists in Harlem. Future famous artists such as Jacob Lawrence attended her school. She also founded the Harlem Artist guild with artist Aaron Douglas, which later included Romare Bearden.
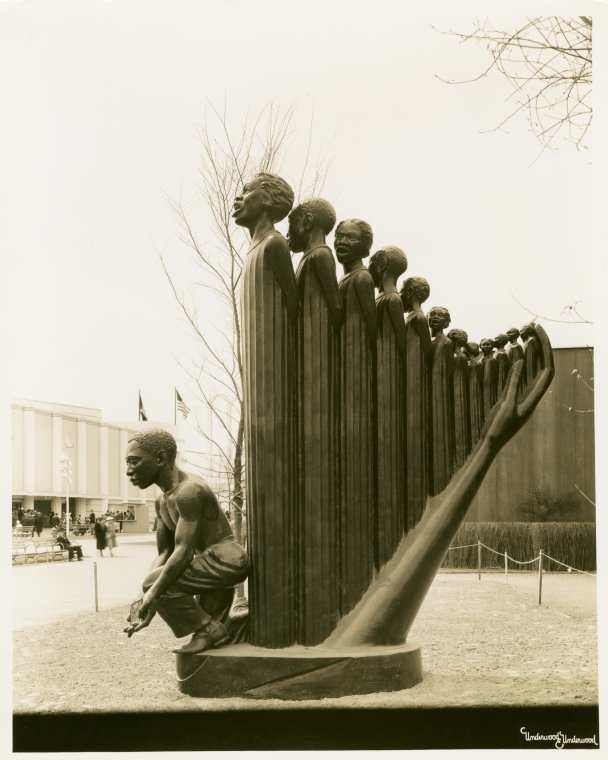
In 1939, she was commissioned to sculpt a piece for the Worlds’ Fair. She worked on this piece for over two years, and was inspired by the poem “Lift Every Voice and Sing.” The fair organizers retitled the sculpture simply “The Harp” and it was very popular. However, Augusta Savage didn’t have enough money to ship or store the sculpture after the exhibit, and it was destroyed. Most of her works were made from plaster, and have not survived.
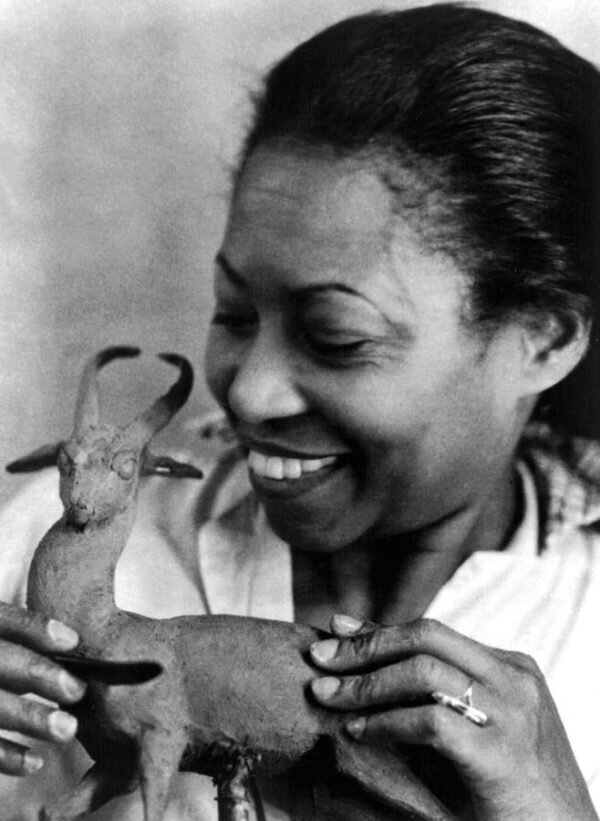
Let’s sculpt some small animals out of clay like the young Augusta.
Watch a video of Ms. Savage creating an antelope out of clay.
Materials:
Clay - you may use Air Dry Clay*, Modeling clay, play dough, Model Magic, Polymer clay such as FIMO, or even homemade play dough
Tools such as an old pen, toothpicks, or a wood or plastic scratch art tool
A piece of scrap paper or a tray to work on
Ziploc bags to store your work in progress
*Small amount of water in a cup if working with air dry clay
Watch Ms. Jennifer create her clay animal here:
Instructions:
Gather your materials and protect your work area with a piece of paper or a tray. Wash your hands before and after you work.
Break off a small lump of clay to work with. Knead it a little to warm it up, then divide.
Divide it into two equal balls. Take one ball and divide it in half again.
Take the large ball to make the body of your cat.
Take one of the small balls, and divide it into quarters. These will form the legs.
To make the back legs, make two discs, then stretch out some clay for the paws. Scratch the inside of the leg and the outside of the hips, then smush them together. You may use a drop of water after scratching to help them stick.
Make two P shapes out of the other two small pieces. Attach for front legs.
Take the other small ball and pinch off a bit for the tail. Roll it into a small snake and attach it using the scratch and smush method.
Take the remaining clay to make the cat’s head. Pull out triangles for the ears and make the nose a little sharper.
Carve small details such as the eyes and nose using a toothpick.
Smooth any parts of your sculpture. Allow it to dry slowly in an open Ziploc bag for 24 days. The more slowly it dries, the less chance of cracking.
If you are using playdough or oil-based modeling clay, you may let it dry, or place it back in the jar to create again tomorrow.
If you use FIMO or polymer clay, bake according to the package directions on a piece of foil. Check on it frequently to avoid scorching.
For Doodlebugs Ages 2-5:
Materials:
Playdough
Instructions:
Encourage your child to create different animals with playdough. Start by showing them how to roll a ball between their hands.
Next try making a snake by rolling the ball back and forth until it grows long and skinny.
Let their imagination and interests guide other animals to create. Dinosaurs with spikes, or the head of a kitty cat with triangle ears!
Music by Bensound.com


